How to Set Up the Perfect Gaming Streaming Setup
We’ve all seen those perfect gaming setups online and thought, “Wow, I want that!”. Truth is, you don’t need a pro sponsorship to get started. In this gaming streaming setup guide, we’ll break it down step by step — from choosing a platform to tweaking your internet — so even a complete noob can look good on stream. It’s basically a streaming setup for beginners (and yes, even we once rocked a “potato” webcam). We’ll cover budget streaming gear options too. The goal? A solid rig that won’t break the bank, so let’s get into it!
Table of Contents
Step 1 – Pick Your Platform (Twitch, YouTube, Kick)
First things first: where to stream? Twitch is still king with a massive audience (around 140 million active monthly users), so you’ll likely find viewers there. YouTube Live is great if you already have a YouTube audience. Then there’s Kick, a new platform that’s shaking things up with a 95/5 revenue split in favor of streamers (versus Twitch’s 50/50). Kick is much smaller (only about 1 million users early on), but big names are moving over for that sweet cut.
Think about your audience: if your friends are on Twitch, start there. If you’re console-only (PS5/Xbox), note that Twitch has built-in console streaming support while Kick doesn’t—so Twitch might be easiest. YouTube works across everything and automatically archives VODs. In the end, you can even multi-stream, but to start, pick one platform that fits your style and stick with it. Remember, this is your personal gaming streaming setup guide to finding the right home for your stream!
Also Check Out Best Laptops for Students in 2025
Step 2 – Essential Gear List
You don’t need an $10,000 studio to start. Here’s the basic gear you’ll need, with some Amazon-friendly examples:
- Microphone: Your voice is key. A good desktop USB mic can make you sound pro. For example, PC Gamer calls the Shure MV6 “the best overall” gaming mic. On a budget, even the Amazon Basics USB Condenser Mic (about $30) “sounds absolutely great” for the price. Skip that tinny laptop mic — grab at least a USB mic (and a pop filter if you can) so you’re not yelling through a potato.
- Webcam/Camera: Unless you have a DSLR, a decent webcam will do. The Logitech Brio 500 (1080p/30fps) is often recommended for its excellent auto-exposure and color in varied light. If you’re really pinching pennies, the Microsoft Modern Webcam is a 1080p plug-and-play cam you can find for under $50. For ultimate budget simplicity, consider the Razer Kiyo — it’s a 1080p webcam with a built-in ring light (perfect for a quick glow-up) and it comes in under $100.
- Lighting: Good lighting makes a huge difference. Even a cheap ring light (~$20) “instantly lifts” your video quality. Put it behind or around your camera so you’re well-lit (hello, no more shadowy face!). Later on, you can add mood lighting like LED strips or smart bulbs, but start with any lamp or desk light facing you.
- Headset: If you’re gaming, a comfy headset is useful. PC Gamer hails the HyperX Cloud Alpha as “the best gaming headset,” praising its sound and comfy fit. On a shoestring budget, the Corsair HS55 Stereo is a solid pick for its price. The headset’s mic can work in a pinch, but generally stand-alone mics sound clearer. Still, at least a headset keeps you from yanking your eardrums out when explosions happen!
- Capture Card (if needed): If you’re streaming from a PC, you can ignore this. Console gamers might think they need one, but note: modern consoles (PS5/Xbox) can stream directly to Twitch without any capture card. If you do want a cleaner PC workflow, a budget card like the NZXT Signal HD60 does 1080p60 capture and costs under $100. It’s plug-and-play via USB, so you don’t have to mortgage your house.
Keep in mind you can start with just a mic and game – you don’t need everything day one. This gear list is your checklist, but if your wallet’s feeling light, mix and match budget finds (there are tons of budget streaming gear deals out there).
Step 3 – Arrange Your Space for Comfort & Aesthetics
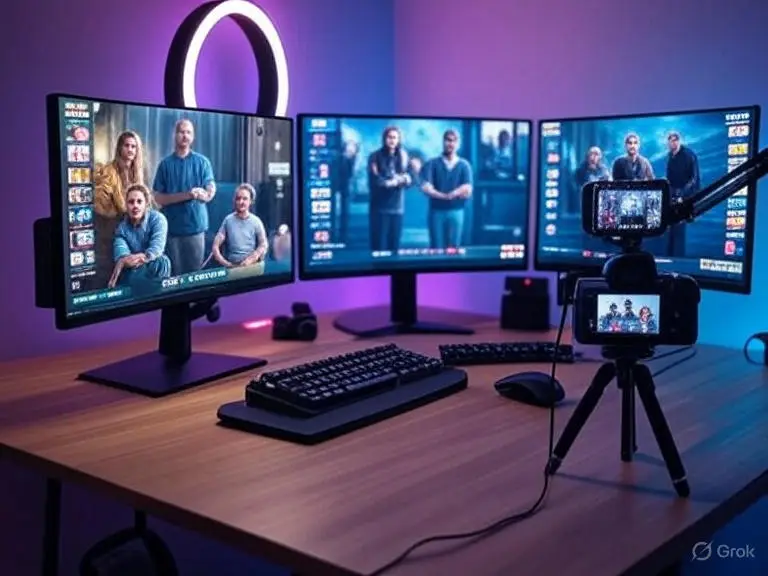
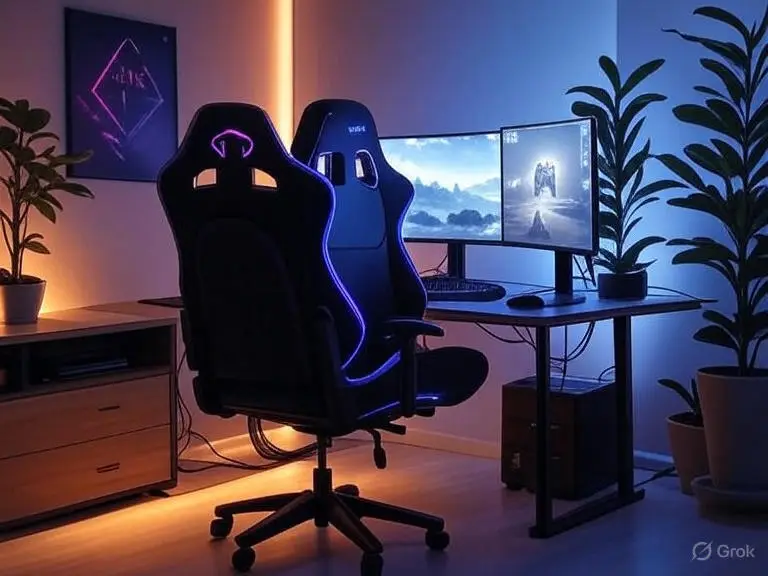
Now that you have gear, set it up so you’re comfortable and your viewers get a cool vibe. Aim to keep monitors at eye level and about arm’s length away (neck pain is real!). Position your mic where you can talk normally — a boom arm is great so you can move it out of the way between games. Tuck cables behind your desk or use clips so you’re not tripping over cords; a tidy setup just looks better on camera. In the example above you can see RGB backlights and a sleek desk layout — you don’t need to copy that exactly, but adding something fun (like some LED strips or a poster) can make your background pop.
Comfort matters too. Use a decent chair or cushion (your back will thank you during marathon streams). If your room is dark, add a desk lamp or even a cheap clamp light pointed at you. Try to stream in a clean corner — nothing distracts viewers like a pile of laundry or dirty dishes behind you. We’ve all seen it, but let’s not be that streamer. With a well-arranged space, you’ll feel more confident on camera and give off a pro vibe (even if you started with IKEA basics).
Step 4 – Software Setup (OBS basics for newbies)
Time to go live! We recommend OBS Studio (it’s free and powerful). Here’s the quick rundown:
- Auto-Configuration: When you first open OBS, run the Auto-Configuration Wizard. It will test your PC and Internet and pick good settings (resolution, bitrate, etc.) for smooth streaming. This is a lifesaver for newbies — just follow its prompts.
- Add Sources: In OBS, you build a “Scene” with Sources. Click the + in the Sources box. For gameplay, choose Display Capture (for PC games) or Game Capture (Windows only, often better for full-screen games). For your camera, add Video Capture Device (choose your webcam). You can also add Window Capture or specific game capture sources. OBS’s guide says to use Display Capture, Game Capture, and Video Capture to get your desktop, game, and webcam on stream.
- Audio Setup: By default OBS will try to grab your desktop audio and mic. Go to Settings → Audio to double-check your microphone is selected, and check the audio mixer sliders. Play some game sound and talk into your mic — you should see the green bars move. Adjust so your voice isn’t too quiet or peaking into red.
- Test Everything: Hit Start Recording (or do a private test stream) and check the result. Are you happy with the video quality? Can you hear the game and your voice clearly? OBS even strongly encourages a test stream to avoid surprises. If something’s off, tweak the settings or try lowering the bitrate. Repeat until it looks and sounds good.
OBS has a bit of a learning curve, but you’ll pick it up fast. Play around with scene transitions and maybe add a simple overlay (show your Twitch name or social handles). Once you’re satisfied, you’re ready for Step 5.
Step 5 – Internet Optimization for Lag-Free Streaming
Your internet upload speed is your new best friend. If it’s too slow or unstable, your stream will lag and buffer (and viewers will drop). As a rule of thumb, aim for at least 6–8 Mbps upload for 720p30 streaming, or around 10–12 Mbps if you want 1080p60. For example, AT&T’s guide notes that 720p60 streams like gaming can require 6–8 Mbps, and 1080p60 about 12 Mbps. If your connection is slower, drop to 720p or 30fps and watch the bitrate slider.
Whenever possible, use a wired Ethernet cable rather than Wi-Fi. Ethernet is typically faster and more stable, meaning fewer dropped frames. Also, close any other programs or devices hogging bandwidth (no big downloads or Netflix in the background!). Test your speed on speedtest.net to be sure. A little dedicated bandwidth goes a long way toward a smooth stream — with bad internet, even the flashiest setup won’t save you from lag.
Pro Tips to Level Up Your Setup
- Use Overlays & Alerts: Add some polish with overlays (frame borders, labels) and alert widgets (follower/sub notifications). These tell the world when someone new joins or donates. StreamLabs or StreamElements have free overlay templates. As one tips guide notes, good overlays “make your stream a more interactive and engaging place to be” and give viewers reasons to stick around. Seeing your name pop up on screen is addictive and helps grow community.
- Engage Chat: Keep a second monitor or a phone handy so you can see chat in real-time. Greet new viewers by name and read their comments out loud. Viewers tune in to watch you, not just the gameplay, so chatting keeps them entertained.
- Pop Filter & Noise Gate: Clip a pop filter or foam windscreen on your mic to smother plosives (P’s and B’s). In software like OBS or Voicemeeter, you can add a noise gate so background hiss or keyboard clacks are cut off when you’re not talking. Clean audio is huge — nobody wants to hear your keyboard typing or fridge buzzing.
- Green Screen (Optional): If your background is messy or small, consider a $20 green screen. OBS can chroma-key (remove) the green so it looks like you’re floating over the game, or just to hide the room. It’s an easy DIY upgrade later on for that pro look.
- Manage Cables & USB Ports: Keep cables organized (zip ties or cable sleeves are cheap). Unplug devices you don’t need. Sometimes using powered USB hubs can prevent power issues with webcams or mics. Messy cables can also cause interference, so tidy them away.
- Content and Schedule: Streaming is also about consistency. Pick a schedule you can keep and tell people (via socials or Twitch panels). Also, play games you enjoy or are good at — energy is contagious!
- Stay Patient and Have Fun: Finally, remember it takes time to build an audience. Even with the perfect gear, you’re the most important part. Be yourself, stay positive, and keep practicing.
These gaming livestream setup tips should help your streams look and feel sharper. But none of this matters if you don’t just start.
Conclusion
There you have it — a complete gaming streaming setup guide for getting up and running. Remember, perfect gear isn’t required to begin. Even an old PC or a smartphone and a lamp can get you live today. As you stream more, you’ll learn what upgrades you really need. For now, just start with what you have and focus on fun content. Maybe your first stream is just you exploring this guide on camera.
In the words of many streamers: “Keep it simple, keep it consistent, and keep it fun.” So grab your mic (or that $30 condenser), fire up OBS, and hit Start Streaming. Your community — however small or big — is out there waiting to see you. Good luck, and happy streaming! 🎮🚀