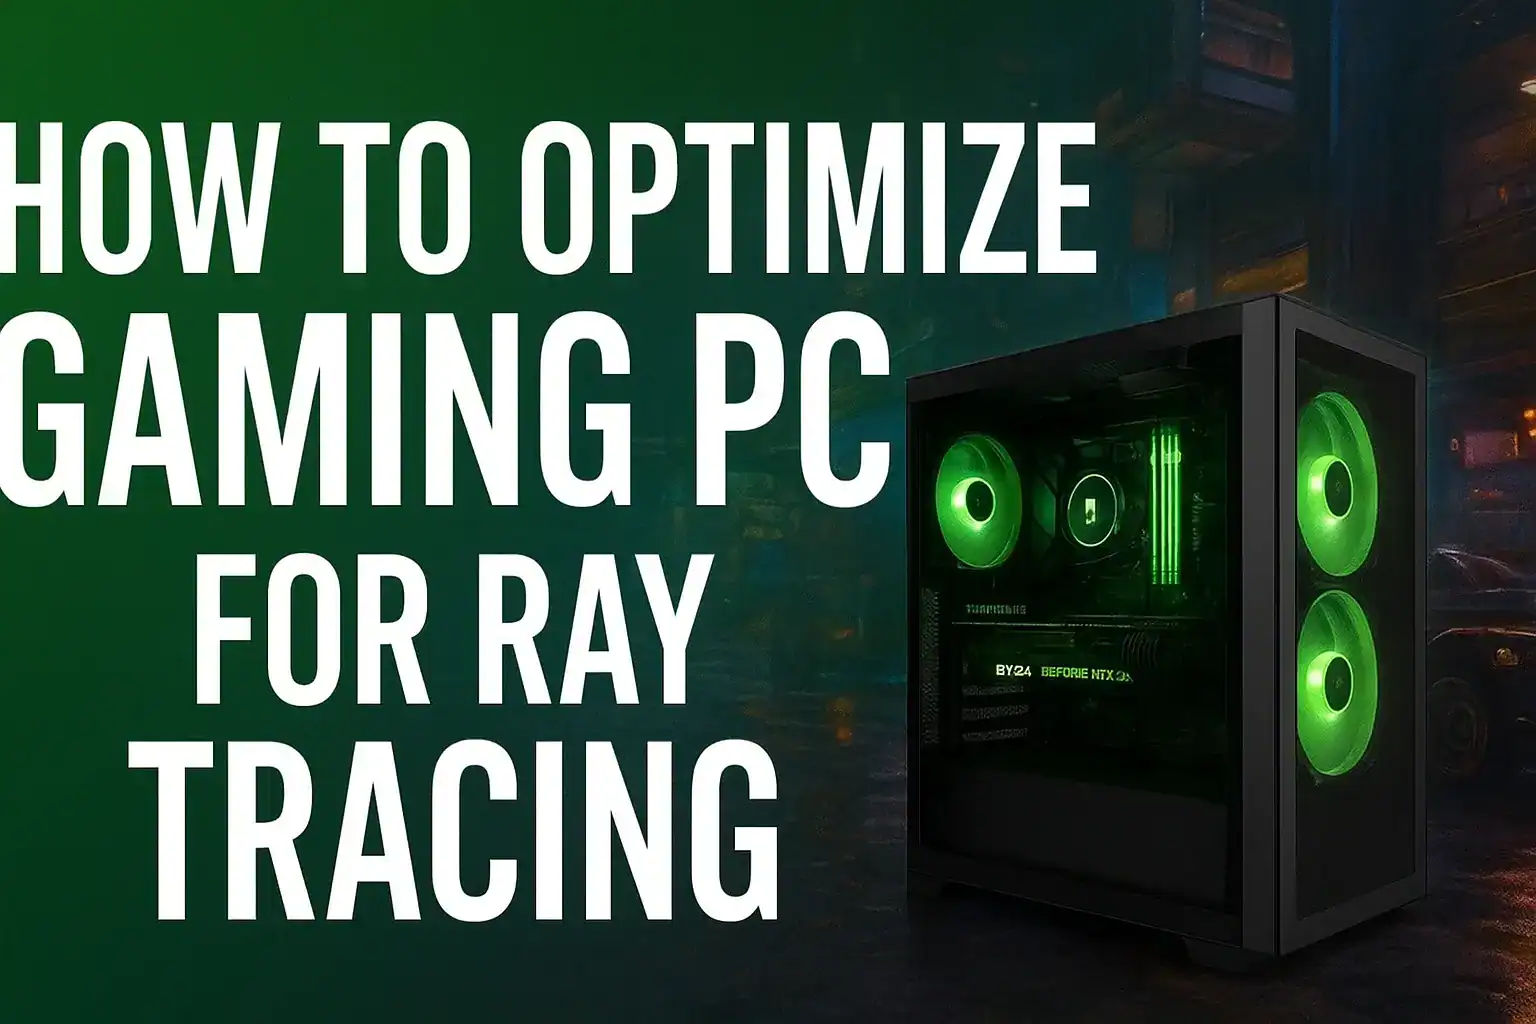
How to Optimize Gaming PC for Ray Tracing
Table of Contents
You just turned on ray tracing and boom — your FPS drops harder than your K/D after an all-nighter. I’ve been there, and trust me, you can fix it. Stick with me and I’ll show you exactly how to optimize gaming PC for ray tracing without sacrificing those jaw-dropping visuals. Think of it like tuning up your rig: a few tweaks here and there will let you enjoy gorgeous lighting without gutting your frame rate. Ready? Let’s dive into some ray tracing performance tips that will literally make your GPU breathe easier.
Also Check Out Best Ethernet Cable for Gaming in 2025
What Is Ray Tracing and Why It’s a PC Hog
Ray tracing is basically fancy, physics-based lighting for games. It simulates real light bouncing off surfaces to create lifelike reflections, shadows, and glow. The catch? It’s a total performance hog. In fact, one gaming blog warns that “ray tracing is resource-intensive, leading to significant performance hits and lower frame rates”. Translation: your GPU has to act like a Hollywood lighting crew, calculating every ray of light in real time. That realism comes at a cost, so ray tracing will tank your FPS if your PC isn’t ready.
Check Your Hardware First
Before you tweak settings, make sure your hardware is up to the challenge. The GPU is the star here. Modern cards with dedicated ray-tracing cores (like NVIDIA’s RTX 30/40 series or AMD’s Radeon RX 6000/7000 series) are built for this job. Older or lower-end GPUs will struggle, so if you can upgrade, that’s step one. Your CPU matters too — at least a quad-core (Intel Core i7/i9 or AMD Ryzen 7/9) so it isn’t bottlenecking your GPU. Without a balanced CPU/GPU combo, one will idle while the other maxes out.
Next, stock up on RAM and fast storage. A minimum of 16GB RAM is recommended these days (32GB is even smoother if you stream or multitask a lot). More RAM means fewer hiccups when the game loads big scenes. Also use an SSD — preferably NVMe — for your games. A fast drive cuts load times and avoids stutters mid-game. In short: RTX GPUs, lots of RAM, and a speedy SSD give you a rock-solid foundation for ray tracing.
How to Optimize Gaming PC for Ray Tracing (Step-by-Step)
- Lower ray tracing settings. Start by turning things down a notch. If you’re on “Ultra,” try “High” or “Medium” instead. You might be amazed: one test showed Ultra ray tracing costing ~45% of FPS on a top-tier GPU, while even “Low” RT only cut ~30%. In many games, you’ll barely notice quality differences between Low/Med/High, but your frame rate will jump. So save “Ultra” for screenshots, and play with more moderate settings to boost FPS with ray tracing.
- Enable DLSS or FSR. This is massive. Nvidia’s DLSS or AMD’s FSR are upscaling tricks that render at lower resolution and intelligently upscale the image. ASUS’s ROG guide notes that DLSS “can give you the performance you need to turn on cutting-edge graphics tech like ray tracing and still enjoy a fluid frame rate”. In practice, flipping on DLSS or FSR is often the single biggest FPS boost you can get short of new hardware. Think of it as the ultimate ray tracing performance tip: preserve sharp visuals and crank up your frames at the same time.
- Keep drivers updated. Old GPU drivers can cause weird slowdowns or crashes. Always grab the latest drivers from NVIDIA or AMD (or use GeForce Experience/Adrenalin). Dell’s support notes that updating video drivers often resolves “low graphics performance while gaming” issues. So check for updates regularly – it’s a quick win for stability and perf.
- Close background apps / enable Game Mode. Any app hogging CPU, RAM or disk can cut into game performance. Shut down things like web browsers, Discord, or even Windows Update while gaming. On Windows 10/11 you can also turn on Game Mode: it “halts non-essential background processes, giving your games more system resources”. In short: don’t let Spotify or Chrome steal cycles — keep your gaming session lean.
- Lower the resolution (if needed). This one hurts a bit, but it works: dropping from 4K to 1440p or from 1440p to 1080p dramatically frees up GPU headroom. If your FPS is still in the gutter after everything else, try lowering the render resolution or use a performance preset. Yes, the image is slightly less sharp, but you’ll get way higher frames. Especially if you’re playing fast-paced games, a lower resolution + DLSS/FSR combo can make ray tracing look almost native while triple the FPS.
Game-Specific Tweaks
Every game is a little different, so experiment. Many big titles like Cyberpunk 2077 and Control launched with DLSS support, so flip those on. Even Minecraft RTX basically requires DLSS to run smoothly at higher settings. In ray-traced Minecraft, the frame rate can double by using DLSS! In other games, try turning off only one RT effect at a time (like reflections or shadows) to see what hurts performance the most. For example, in Cyberpunk 2077 you might set “Lumen Reflections” to medium first, and see a huge FPS jump. A good trick: test changes in a quiet part of the game world (not in the middle of a firefight) so you can safely judge performance without dying or missing the action. These ray tracing performance tips on a per-game basis can save your bacon — sometimes a small tweak yields a big smoothness boost.
Overclocking — Yes or No?
Overclocking your GPU or CPU can squeeze out a few extra FPS, but it’s only for the brave. You might get a 10–20% performance bump if you carefully raise clock speeds and voltages. However, be warned: this makes your components hotter and can shorten their lifespan. Acer’s tech blog reminds us that overclocking “requires meticulous planning” and can cause excess heat or even hardware stress if done wrong. If you decide to try it, proceed slowly, watch your temps (keep them under safe limits with good cooling), and know it’s technically outside of stock specs. For most of us, the gains aren’t worth the risk of a fried GPU – but if you’re experienced and have excellent cooling, it is an option to eke out more ray-traced power.
My Experience / Personal Tip
One time I maxed out ray tracing in Cyberpunk 2077 (all effects on, no DLSS) and—yikes—my poor PC froze. I dropped a lot of frames, like from 60fps to sub-30fps in a heartbeat. My buddy leaned over and asked, “Dude, how to optimize gaming PC for ray tracing? Is my PC possessed?” We took a breather and turned on DLSS Quality, bumped down a couple graphics sliders, and I swear—frames shot back up to 60+, and the game still looked incredible. So trust me: even if your rig melts at first, some tweaks will save the day.
Conclusion
Ray tracing doesn’t have to turn your gaming PC into a space heater. With a few smart tweaks — like upgrading the right hardware, updating drivers, and using DLSS/FSR — you’ll know exactly how to optimize gaming PC for ray tracing and keep both your frames and visuals happy. Remember these ray tracing performance tips next time: start with good hardware, then dial in settings step-by-step. Soon you’ll be enjoying those shiny reflections and deep shadows at playable frame rates. Now go forth, gamer — you’ve got this down!